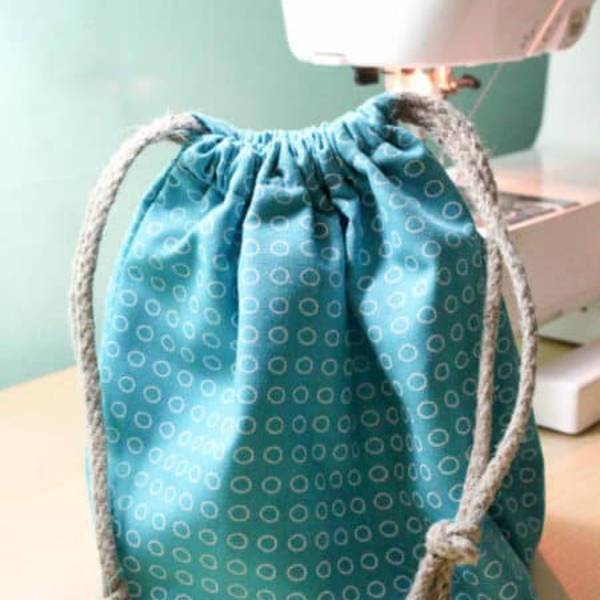
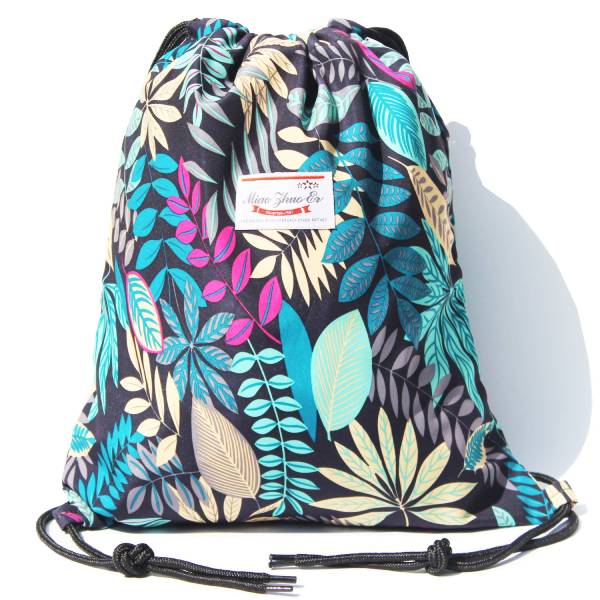
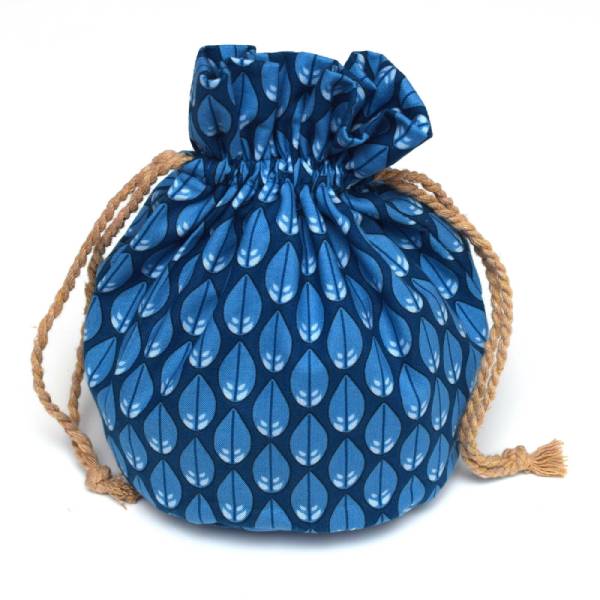
Introduction to Making Your Own Drawstring Bag
Drawstring bag pattern are versatile and simple to create. They can be made out of various materials and used for a wide range of purposes, from organizing toys to holding handmade gifts. They are particularly great for beginners in sewing, as they don’t require complex techniques or fittings.
These bags are characterized by a string that’s drawn to close the bag, which also acts as a strap for easy carrying. The process of making one involves cutting fabric, sewing it together to form the bag, then creating a channel or casing for the drawstring.

To start, you’ll need to select your fabric—cotton, linen, or canvas are excellent choices. You’ll also need a cord for the drawstring, a safety pin to thread it through, and basic sewing supplies. Once you have your materials ready, follow the step-by-step instructions in this blog to make your own practical and stylish drawstring bag.
In the upcoming sections, we will walk through all the necessary steps, from gathering materials to the final touches. Whether you want to tidy up your living space, reduce plastic bag use, or simply enjoy a quick and satisfying DIY project, sewing a drawstring bag is an accessible and rewarding endeavor.
Necessary Materials and Tools for Your Drawstring Bag
To embark on your drawstring bag project, you’ll need several key materials and tools. Keep your work area tidy and have a checklist ready to ensure you have everything before starting.
Gather Your Materials
Begin by selecting your fabric; a fat quarter is often sufficient for one bag. Options like cotton, linen, or canvas are durable and easy to work with. For the drawstring, cotton cord is a reliable choice. If you’d like, you can use multiple fat quarters for color and pattern variety.
Here is a basic list of materials you’ll need:
- 1 Fat Quarter: per bag (or scraps if you want to mix and match)
- Cotton Cord: for the drawstring
- Safety Pin: to help thread the cord through
Prepare Your Tools
For the construction of your bag, ensure your toolbox contains the following:
- Sewing Machine: to sew the bag pieces together
- Iron: for pressing seams and fabric folds
- Scissors or Rotary Cutter: for cutting the fabric
- Ruler or Measuring Tape: for measuring fabric and cord
- Pins or Clips: to hold fabric in place
- Thread: to match or contrast with your fabric
Before diving into the sewing process, check that your sewing machine is set up with the appropriate thread and in working order. With your materials and tools ready, the next steps will guide you through cutting and preparing the fabric for your new drawstring bag.
Step-by-Step Instructions for Cutting and Preparing the Fabric
Preparing your fabric is the foundation of making a sturdy and attractive drawstring bag. Following this guide, you’ll accurately cut and prepare your fabric with ease, ensuring your drawstring bag turns out perfectly.
To get started, lay your chosen fabric flat on your work surface. Smooth out any wrinkles or folds with an iron if necessary. Now, you’ll want to measure and cut your fabric. If you’re using a fat quarter, you’re already set with a good size, but if you’re using scraps or multiple pieces, plan for a size that suits your bag needs. A general dimension for a small drawstring bag is about 18 inches by 12 inches.
Once you have your fabric dimensions marked, use your scissors or a rotary cutter, along with a ruler, to make precise cuts. Accuracy here will make your sewing process smoother. If your fabric frays easily, consider finishing the edges with pinking shears or a zigzag stitch on your sewing machine to prevent fraying as you work.
Next, you’ll create the channel that the drawstring will thread through. Fold down the top edge of your cut fabric about 1 to 2 inches to create this casing. Iron the fold to keep it crisp and in place. Check the width of your cotton cord to ensure that the folded casing is wide enough for easy threading.
After these steps, your fabric is ready for sewing. You have now laid the groundwork for a robust and beautiful drawstring bag.
Sewing the Side Seams and Bottom of the Bag
To begin constructing your drawstring bag, you will first focus on sewing the side seams and bottom. This step transforms the flat piece of fabric into a bag shape, ready for the drawstring. Follow these clear and manageable steps to ensure your seams are strong and your bag looks professional.
- Place your fabric right sides together, aligning the edges neatly. This means the pattern or the front side of the fabric faces inward.
- Pin the sides and bottom edge of the fabric to prevent shifting while you sew. Pins or clips can be used here, based on your preference.
- Sew a straight stitch approximately 1/4 to 1/2 inch from the edge of the fabric, starting from the top edge down to the bottom corner on each side.
- Remember to backstitch at the beginning and end of each seam to secure your stitches.
- As you approach the bottom corners, pivot the fabric with the needle down to maintain a crisp and clean corner turn.
- Once your side and bottom seams are sewn, press them open with an iron. This will create a flat and polished look for your bag.
By following these steps, you’re ensuring the body of your drawstring bag is sewn correctly and is ready for the next stage. The better you prepare and secure your fabric, the easier your sewing experience will be. Once this step is complete, you’re one leap closer to completing your handmade drawstring bag.

Creating and Sewing the Drawstring Channel
Creating a channel for the drawstring is vital for your drawstring bag’s functionality. This part of the project is where the drawstring will pass through, so it’s essential to make sure it’s done neatly and securely. Here’s how you can create and sew the drawstring channel with ease.
Measure and Press the Channel
Start by measuring the top edge of your bag, where the channel will be. You want to fold over enough fabric to allow your drawstring to pass through easily. A common measurement is about two inches from the top. Fold this top edge down, pressing it with an iron to create a crease. This folded part will form the channel.
Sew the Channel
With the top edge folded down, pin it in place to prevent any movement while sewing. Make sure to leave an opening in your seam; you’ll need this to thread your drawstring through later. Using a straight stitch, sew around the entire folded edge, about an inch from the fold. If you’re using a heavy fabric like canvas, you may want to use a heavier-duty needle.
Create a Second Seam for Security
For added strength, sew a second seam closer to the top fold, parallel to the first. This creates a neat, durable channel for your drawstring. This step is especially important if you’re making a larger bag or plan to carry heavier items.
Checking Your Work
Before moving on, double-check to ensure the channel is wide enough for your drawstring and that there are no gaps in your seams. This will prevent issues when you’re inserting the drawstring.
By following these simple steps, you’ve now crafted a functional channel for your drawstring. The next phase will involve finishing the smaller details and preparing for the insertion of the drawstring to complete your handmade bag. Now that you’ve created a functional channel for your drawstring, the final touches will enhance the overall design of your leather messenger bag, ensuring it’s both stylish and practical for everyday use.
Finishing Touches: Hemming and Sealing Edges
Your drawstring bag is nearly complete, but first, we need to add the finishing details. Hemming and sealing the edges will provide a polished look and durable finish. Here’s how to do it:
Hemming the Edges
To hem the edges, turn the top of the bag’s opening under about 1/4 inch, and press with your iron. This tucks away any raw edges and creates a clean finish. Pin the fold to hold it in place before sewing. Use a straight stitch to sew close to the folded edge, removing pins as you go. When learning how to make a drawstring bag, be sure to hem the edges neatly by folding the top under about 1/4 inch, pressing it for a clean finish, and securing it with pins before sewing along the folded edge.
Sealing the Edges
Sealing the edges is vital if your fabric frays. This step keeps your bag looking neat. Use a zigzag stitch along the inside raw edges of your fabric, or if you prefer, use pinking shears to cut them. These methods prevent fraying and extend the life of your bag.

Repeat the hemming and sealing process for any internal seams that may need reinforcement. Double-check your work, ensuring that all edges are secure and neatly finished. With these touches, your bag will not only look better but will also withstand regular use. When crafting or repairing a Marc Jacobs tote bag, it’s essential to reinforce internal seams with careful hemming and sealing, ensuring every edge remains secure and polished for longevity and aesthetic appeal.
Inserting the Drawstring and Finalizing Your Bag
To complete your drawstring bag, you’ll need to insert the drawstring itself and finalize the construction. This step is straightforward but requires attention to detail to ensure your drawstring operates smoothly. Here’s what you need to do:
- Measure and cut your cotton cord to the desired length. A good rule of thumb is to make it at least three times the width of your bag’s opening.
- Attach a safety pin to one end of the cord. This makes threading it through the channel much easier.
- Push the pin through the channel opening and work it around to the other side. The pin acts as a guide, pulling the cord through.
- Once the cord is through, remove the safety pin. Then, even out the cord so both ends are the same length coming out of each channel opening.
- To prevent the cord from slipping, tie knots at both ends of the drawstring. This also adds a decorative touch.
- Pull the drawstring to close your bag and test that it opens and closes easily. Adjust if necessary.
- Your drawstring bag is now ready to use! Whether for storage, gifting, or as an accessory, your handmade bag is both functional and stylish.
Following these steps ensures that your drawstring bag is finished with a professional touch. Now that you’ve mastered making a basic drawstring bag, you can experiment with sizes, fabrics, and uses.
Versatile Uses for Your Handmade Drawstring Bag
Your newly crafted drawstring bag is not just a fun DIY project. It serves many practical purposes. Here are some creative ways to use your handmade drawstring bag:
- Toy Storage: Keep children’s toys and small items organized and in one place.
- Gift Bag: Use it as a unique and reusable wrap for presents.
- Travel Pouch: Carry your essentials while traveling or for daily use.
- Laundry Bag: Store your delicates or separate dirty clothes while on the go.
- Craft Carrier: Hold knitting, sewing, or art supplies neatly together.
Whether you’re tidying your home, packing for a trip, or gifting someone special, your drawstring bag can come in handy. Let your creativity flow and find your own unique uses for your new drawstring bag. Remember to share your drawstring bag pattern creations and inspire others to make their own!

